Azure Blob Storage is an option for saving raw files in containers that can be retrieved and read in our services. We can use a storage account and container to hold our data files. They can be updated by tools, uploaded by the operations team, or edited in Azure directly. Then, the data becomes available to our service.
Using Blob storage is another level of isolation from having the files as embedded resources. The data can be updated and added without requiring a new release of the game services. If our service logic doesn’t change often, it makes it easier in the cases where we just want to update the game content.
In this lesson we are going through the steps to set up the container and upload our data files. These will include configuration and screenshots for how to do this. The Azure UI tends to change, but we will try to keep these images accurate with the latest versions of the Azure Portal.
Game Files in Storage Container
First, we need to setup an Azure Storage account and container to hold our game files.
- Let’s start in the Azure portal: https://portal.azure.com.
- Since we already have a storage account for our SimpleRPG game, we will use that one.
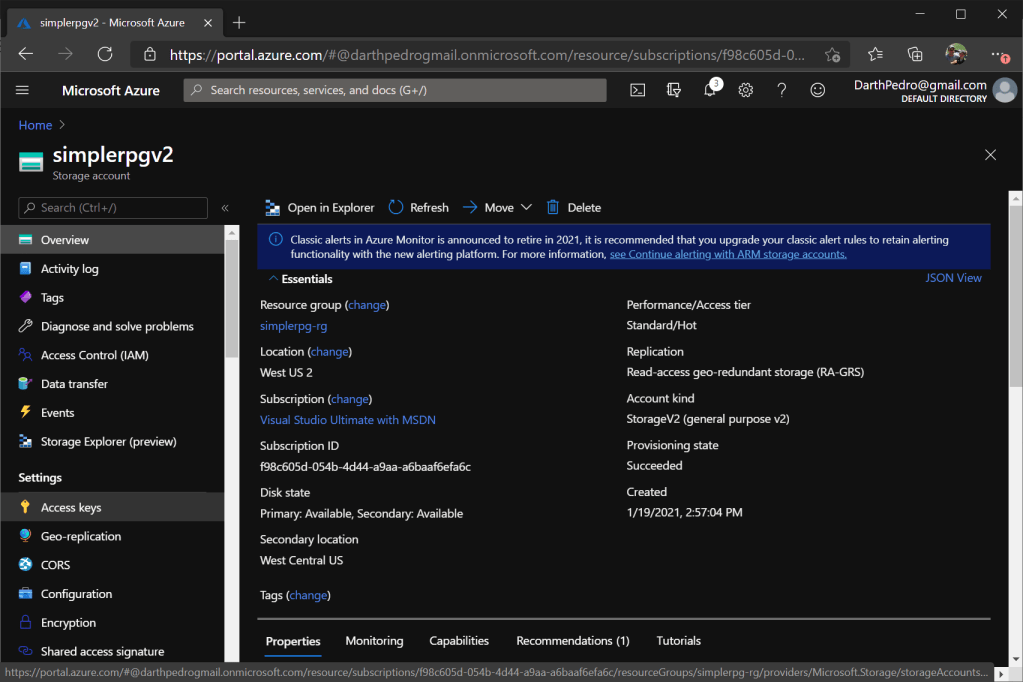
- Navigate to the ‘simplerpgv2’ storage account (we created this in Lesson 5.16).
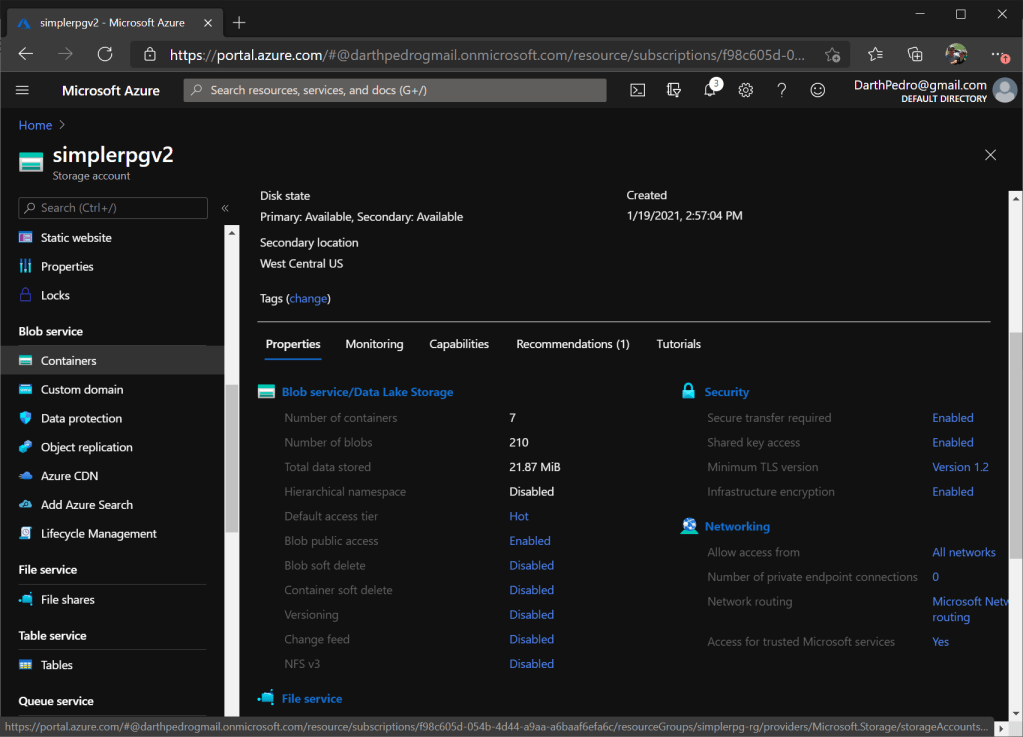
- In the left navigation panel, select the ‘Containers’ item (in the Blob Service section). We are creating a blob storage container for our game data files.
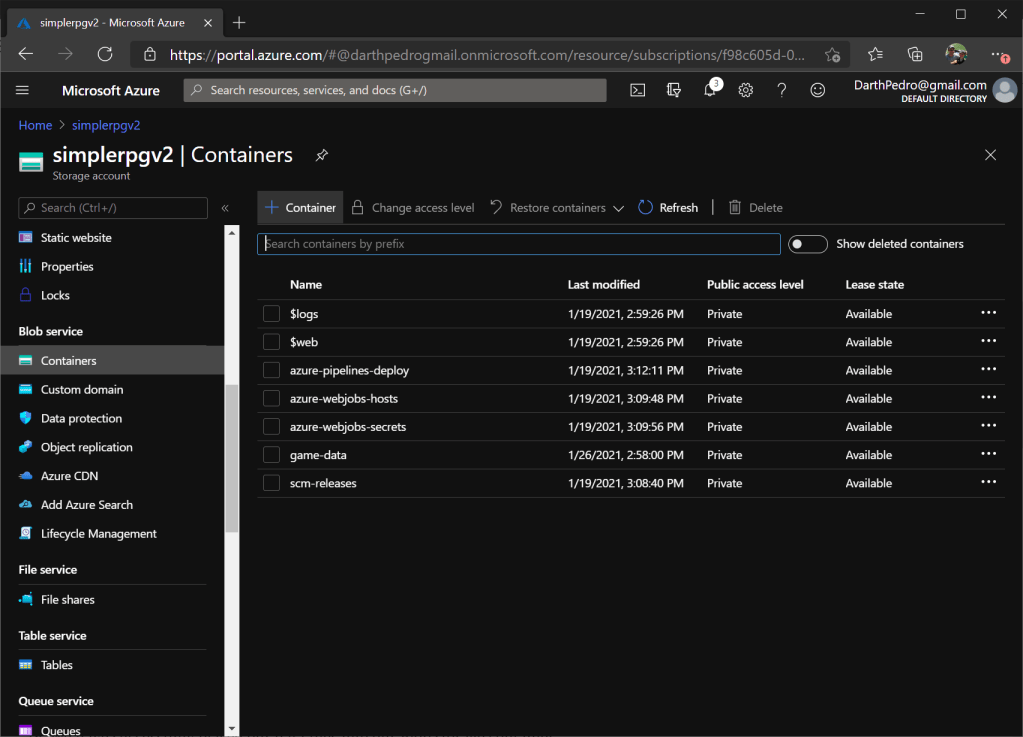
- Click the ‘New Container’ button in the toolbar. Containers are like root folders in our blob storage. We can provide different access keys per container for different applications and services.
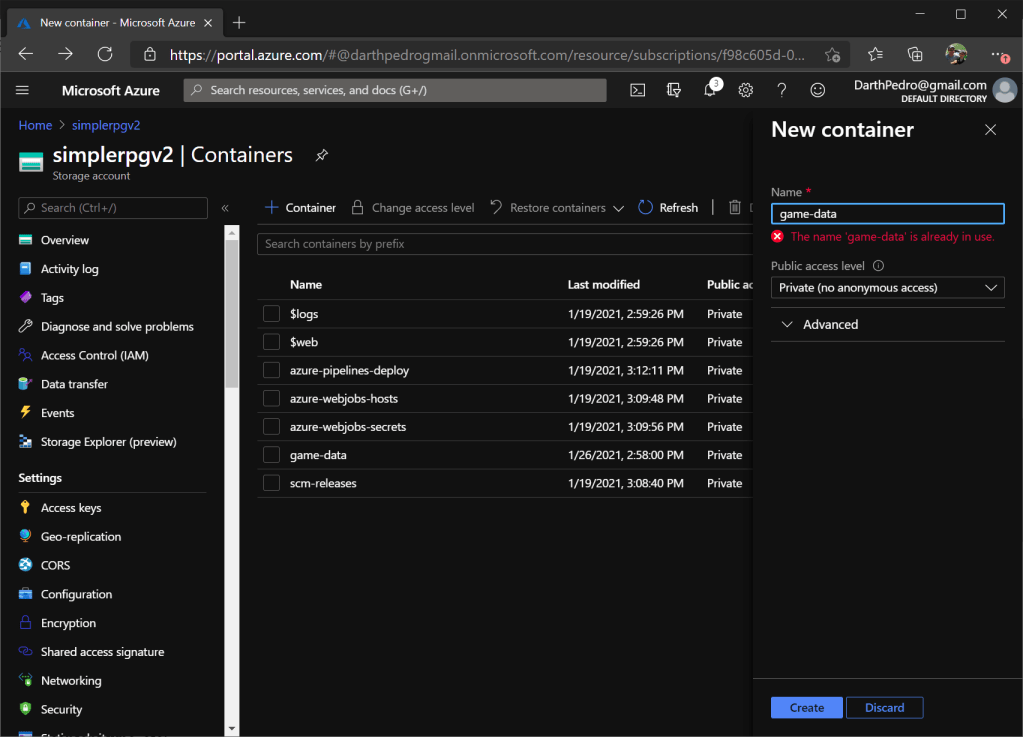
- Name the new container ‘game-data’, and keep the remaining defaults in the flyout. (the image shows a name collision because we had previously created this container, you shouldn’t see that).
- Click the ‘Create’ button. This will create the new container, and we can see it in the list.

- Click the ‘game-data’ container in the list to open its viewer. The container starts out empty.
- Let’s add our game data files to this container by clicking the ‘Upload’ button in the toolbar.
- In the ‘Blob upload’ flyout, click the folder icon to launch the system file picker dialog.

- In that dialog, navigate to our data folder, select all of the files, and click the ‘Open’ button.

- We return to the flyout, which now shows the list of files to be uploaded.
- Click the ‘Upload’ button and wait for the files to complete.
- In the ‘game-data’ viewer, we will now see our 6 data files.
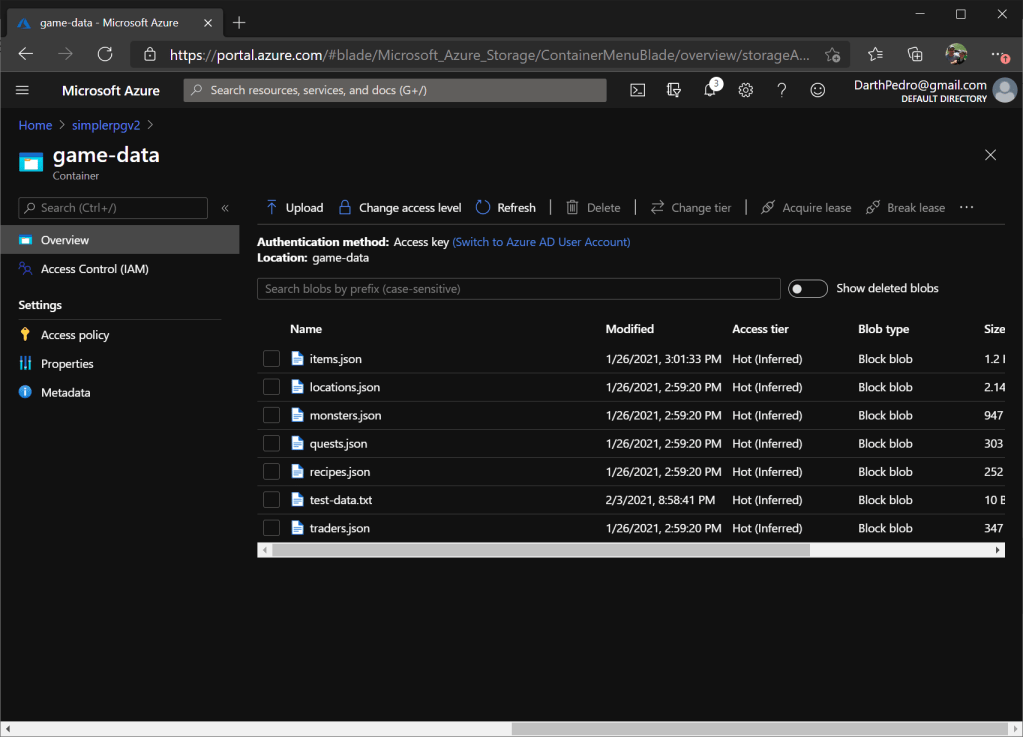
- We have successfully placed our data files into our Blob storage container.
Editing Container Files
With the files there, we will be able to write code to access those files from our SimpleRPG.Game.Services. Before we do that, let’s change the data a little to make sure we are loading from the right source. This will also show us how users with Azure access can update the game data directly.
- In the ‘game-data’ container viewer (where we left off from the previous section), click on the ‘items.json’ file.

- In the file properties view, we see lots of useful information about the file (modified date, size, content type, etc).
- Switch to the ‘Edit’ tab for this file.
- We see json layout for the items file content. We can also edit the information in the file from this view.

- Let’s update the first item to ‘Pointy stick – blob’. This way we will know that we are retrieving item data from blob storage when we load it in the web services or see it in the game screen.
Azure gives us a simple tool to make changes to files in Blob storage. It works great for json or plain text files, but not useful for binary or encrypted data. And, it also means only team members with contributor access to Azure can make these changes. But, it is useful for quick changes and fixes.
Connection String
For our service to read data from this storage account, we will need to retrieve its connection string and access token. Typically we would keep this connection string as a secret or in Azure KeyVault to keep it secure. But for this sample we will copy it into our source tree (it is only the read access token and connection string).
- Navigate back to the root of the ‘simplerpgv2’ storage account.
- In the navigation panel, click the ‘Access Keys’ item.
- In the page, click the ‘Show Keys’ button to let us see the key and connection string.
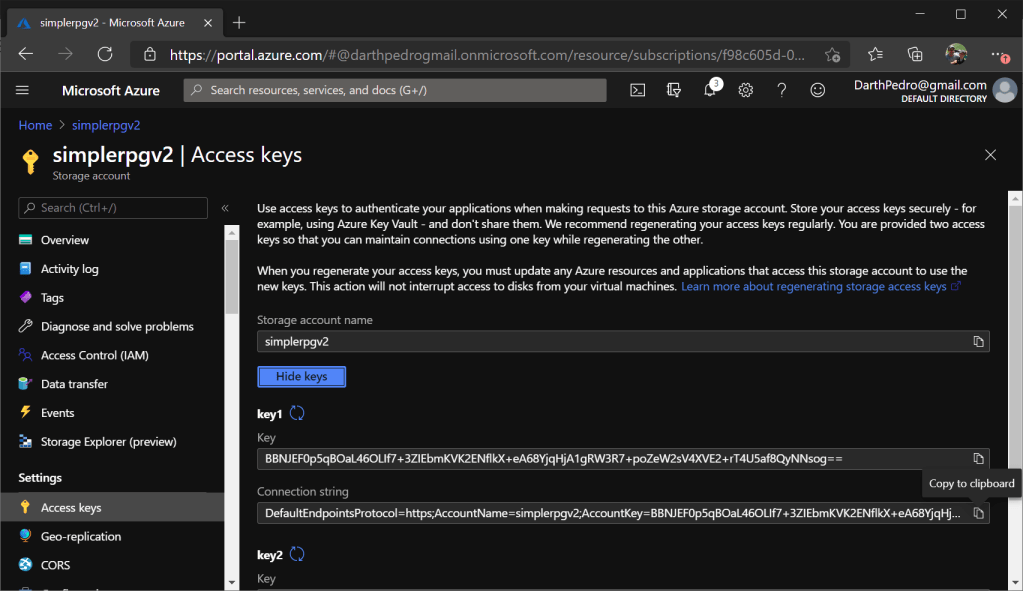
- Copy the connection string. Save that connection string for use in the next lesson when we build the Blob storage repository.

This concludes all of the Azure setup and configuration required to create and expose our ‘game-data’ blob container. We filled that container with the same data files that we used previously. And made a minor item name change to validate that we are getting items from our expected data source. In the next lesson we will focus on building a new repository that loads its data from this storage container.
