We’ve put a lot of infrastructure in place for our initial Simple RPG game. This is a good spot to wrap up the first chapter of lessons. And logically these lessons are steps that we would need to do for any Blazor application or game that we create:
- Create a DevOps project and repository.
- Clone Git repositories locally.
- Create Blazor projects.
- Install open source packages: Blazorise and bUnit.
- Write automated tests.
- Create an automated build script.
These aren’t necessarily the most fun aspects of a project, but they are the tools that ensure they will be successful.
Now let’s just wrap up a few things to get our Chapter 1 code into the main branch.
Setup Pull Request Builds
Let’s go back to our DevOps repository on the web. Then, navigate to the Branches page, and launch the main branch’s context menu.

Finally, click the Branch policies item to get the following page.

Click the Add button in the Build Validation section and fill out the resulting popup.

In the first dropdown, select the build pipeline we built previously in Lesson 1.9 (simple-rpg-game). There is an optional display name that we set to: PR for simple-rpg-game. And then click the Save button.
Now any Pull Requests made to the main branch are required to build and run tests before the Pull Request can be completed. A failure in either the build or any tests will not allow the Pull Request to complete… keeping our main branch safe.
Perform First Pull Request
Pull Requests (PRs) are how engineers get source code from feature branches to the main branch. We make a request that contains all of our code changes that will be pushed into the main branch. It provides a good mechanism to review code and perform builds prior to committing.
Let’s return back to our repository page. Notice the banner that says we have updates in our chapter-1 branch that haven’t been pushed to our main branch yet.
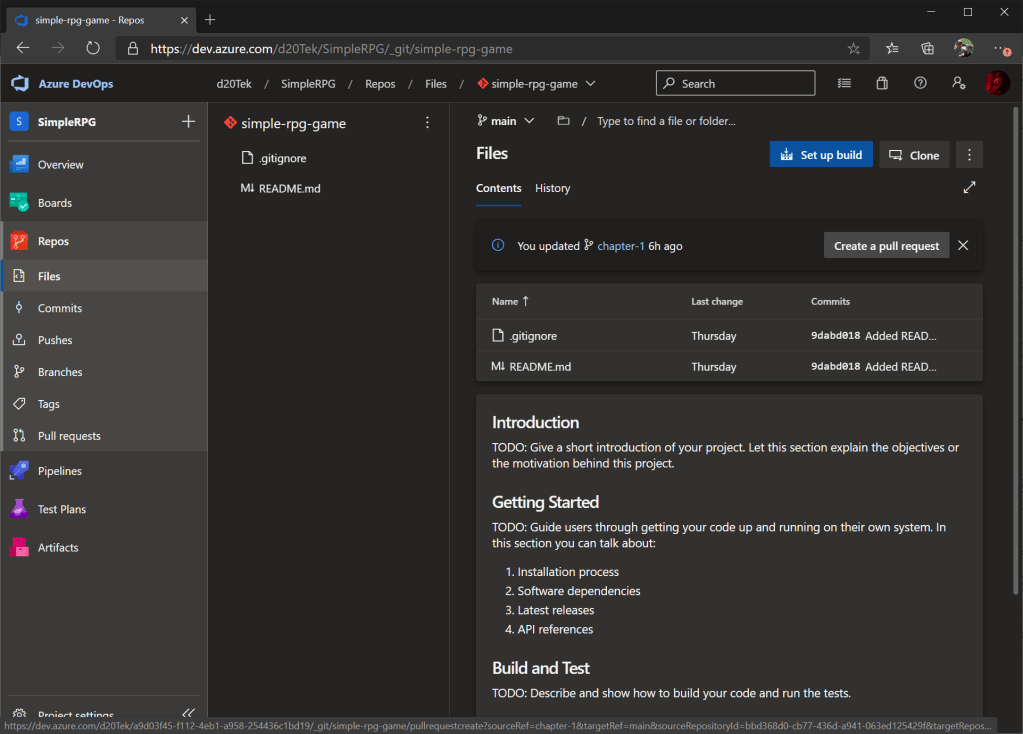
Click the Create a pull request button to kick off the process.

The only required fields are Title and Description. The rest can be skipped. If we want code reviewers for the change, we can add them here. But the team and repository owners are automatically added as Pull Request (PR) reviewers. We can also associate work item ids to this Pull Request, if we want to track work items and tie them to specific commits. Then, click the Create button.

Notice that the PR is active, the code needs to be approved by 1 reviewer, and the pull request build is in progress.
For this project, we’re just going to approve our own pull request (click the Approve button at the top), but typically different engineers are required to approve the changes.

Once the PR build finishes, you will see that it completed successfully (green check-mark). And, we have reviewed and approved the change. The only step left is to complete the pull request (click the Complete button at the top right of page).
The code will be merged into the main branch and a new build started to validate the changes to that branch. Go to the simple-rpg-game pipeline and watch the build complete.

In the build list, notice that:
- the .4 build was the last build in the chapter-1 branch.
- the .5 build was the PR automated build.
- the .6 build was the merged PR in main.
- all of the tests were run in those different builds.
- the same build script worked on all 3 different build types.
Conclusion
There we have it! Our code for Chapter 1 has now moved from our feature branch to main and built there successfully. Normally, we delete our feature branches (chapter-1) when we are done with the feature, but I will keep these live to match the source code for each chapter… as a way of tracking progress in our game. And to allow readers to go back in chapters (if needed).
In the next chapter, let’s start looking at some of the game engine.

4 thoughts on “Lesson 1.11: The Wrap”