As we did with blob storage, we need to setup a storage account and the individual tables in Azure Table storage. In this lesson, we will focus on the steps needed to setup the account and tables through the Azure Portal. Then, we will add all of our game data to the appropriate tables. We are going to manually enter the table entities via the Portal for now, rather than creating a tool for editing the game data.
Azure Tables are a NoSQL option for storing semi-structured data. The columns in a table only support simple types, and the data is typically de-normalized to avoid having references and multiple queries across tables. Azure Tables are actually now backed by CosmosDB, but with a different configuration experience and integration API. And it provides a good balance of simple tabular data and low-cost, serverless payment options.
Setup Table Storage in Azure Portal
To use Azure Tables, we need to setup a new storage account. We will set up a separate account from the others in this project for the Table storage.
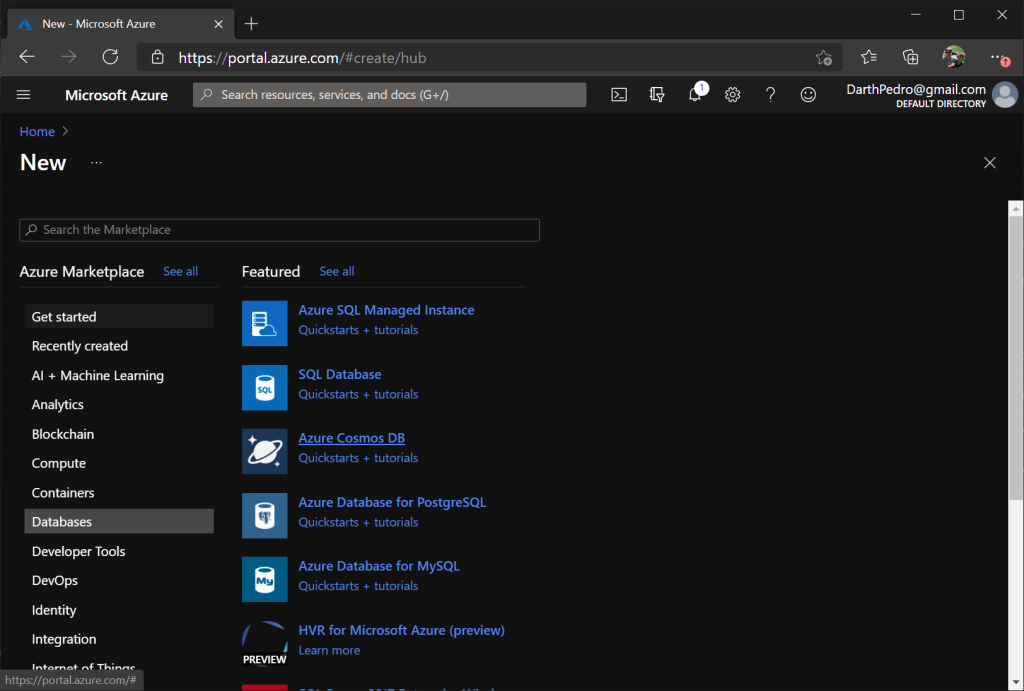
1. In the Azure Portal home screen, select ‘Create a resource’.
2. Select ‘Databases > Azure Cosmos DB’ in the list page.
3. On the Create Azure Cosmos DB Account page, enter the settings for a new Azure Cosmos DB account.
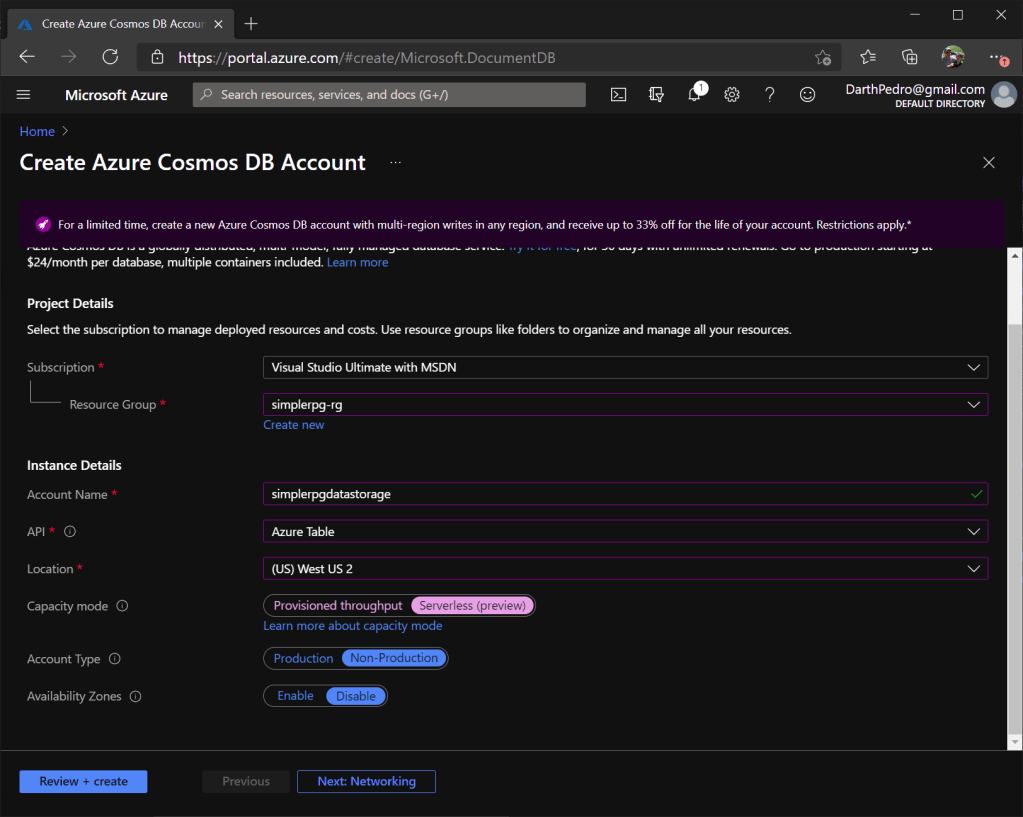
Setting the following data for your account:
- Select the Azure subscription name we want to target with this storage account.
- Select the ‘simplerpg-rg’ as our resource group. This is the resource group that we have been using for all of the resources in this project.
- Enter a unique account name, like: ‘simplerpgdatastorage’.
- Select the API to be ‘Azure Table’.
- Select the location closest to your customers… we are picking ‘West US2’ for our purposes.
- Set the capacity mode to ‘Serverless’… so we only pay as we go, rather than a fixed amount.
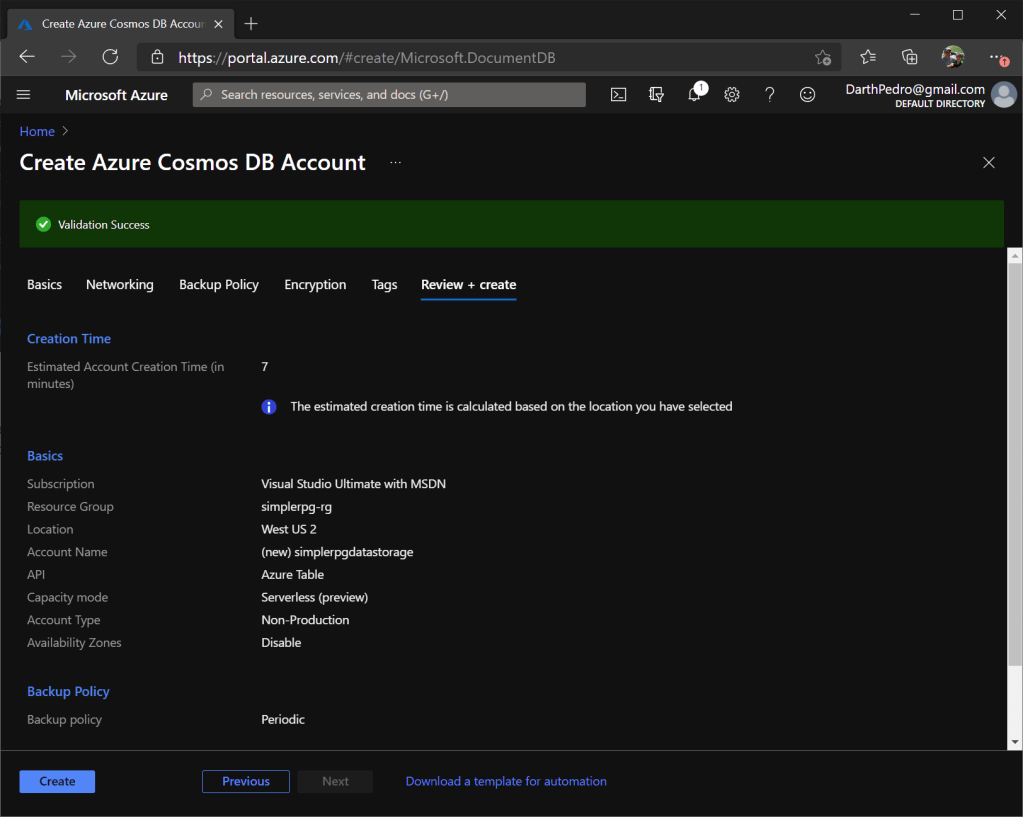
4. Select the ‘Review+Create’ tab. After the validation is complete, select ‘Create‘ to create the account.
5. We will see a message that states our deployment is underway. Wait for the deployment to finish, and then select ‘Go to resource’.
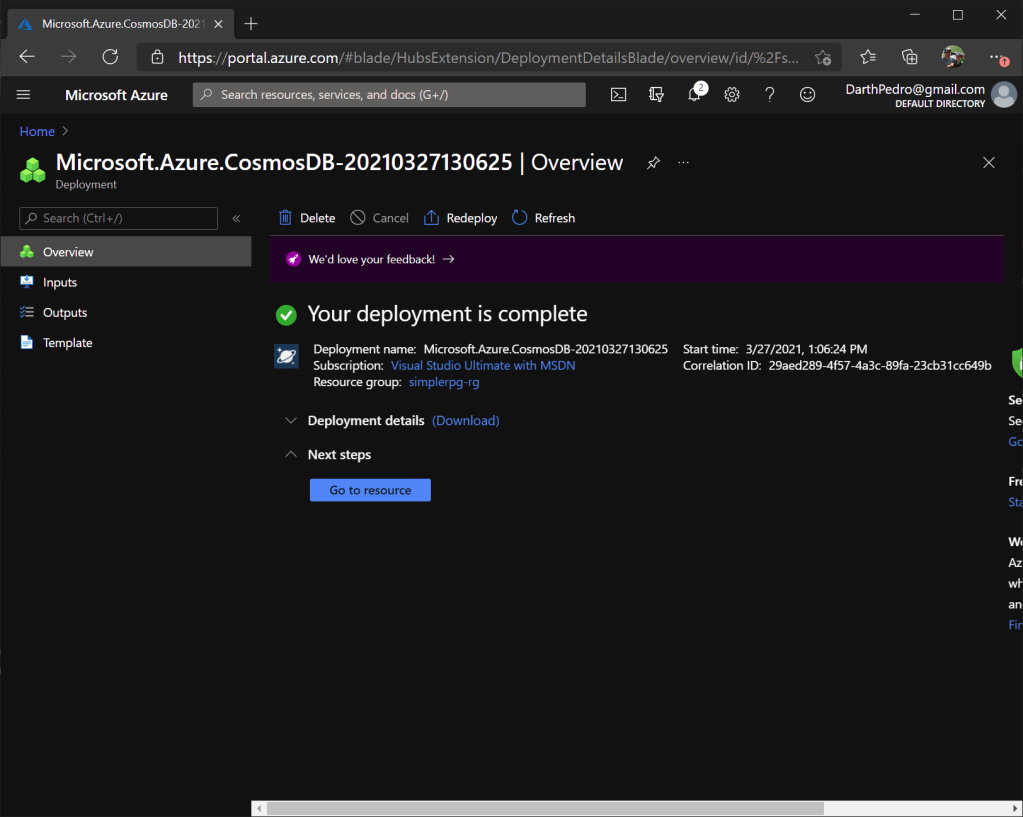
With our Table storage account created, we can look at its overview page.
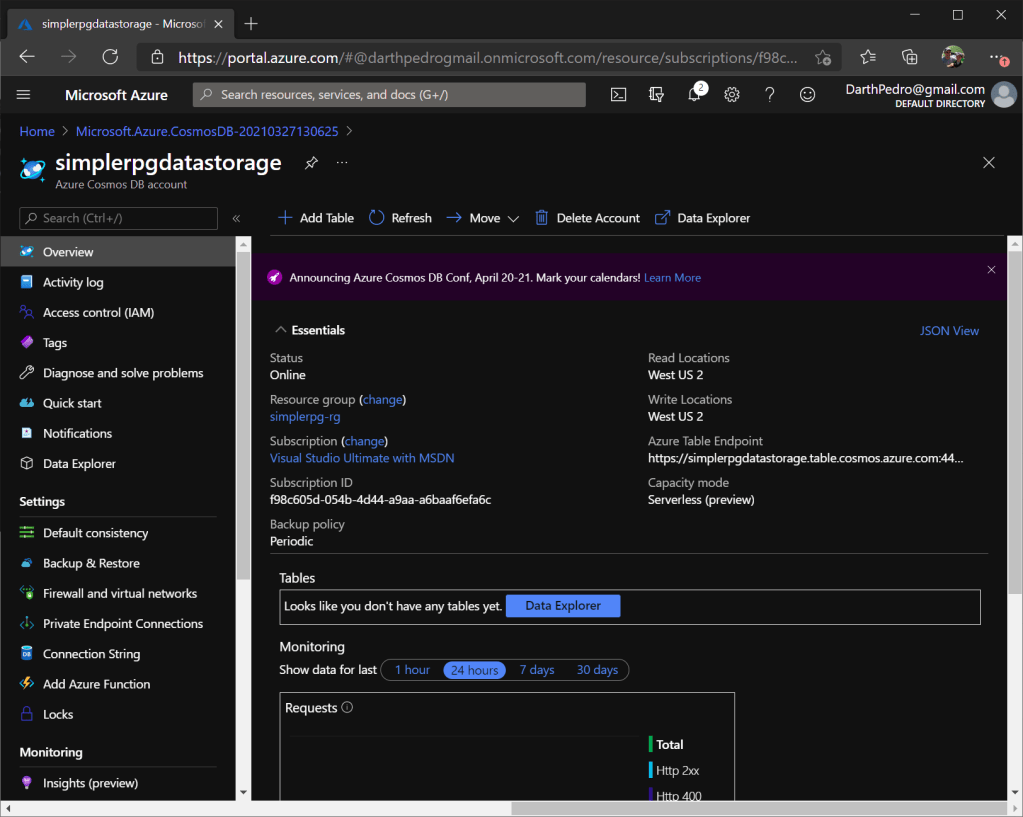
We now have our Table storage account complete and ready to use. Our next steps will be to setup the game data tables and enter all of the entities.
Create Items Table
Initially we will focus on creating the Items table and entering all of its entities. However, these same steps will be needed for all of the tables in our game… just with different specific columns and data values.
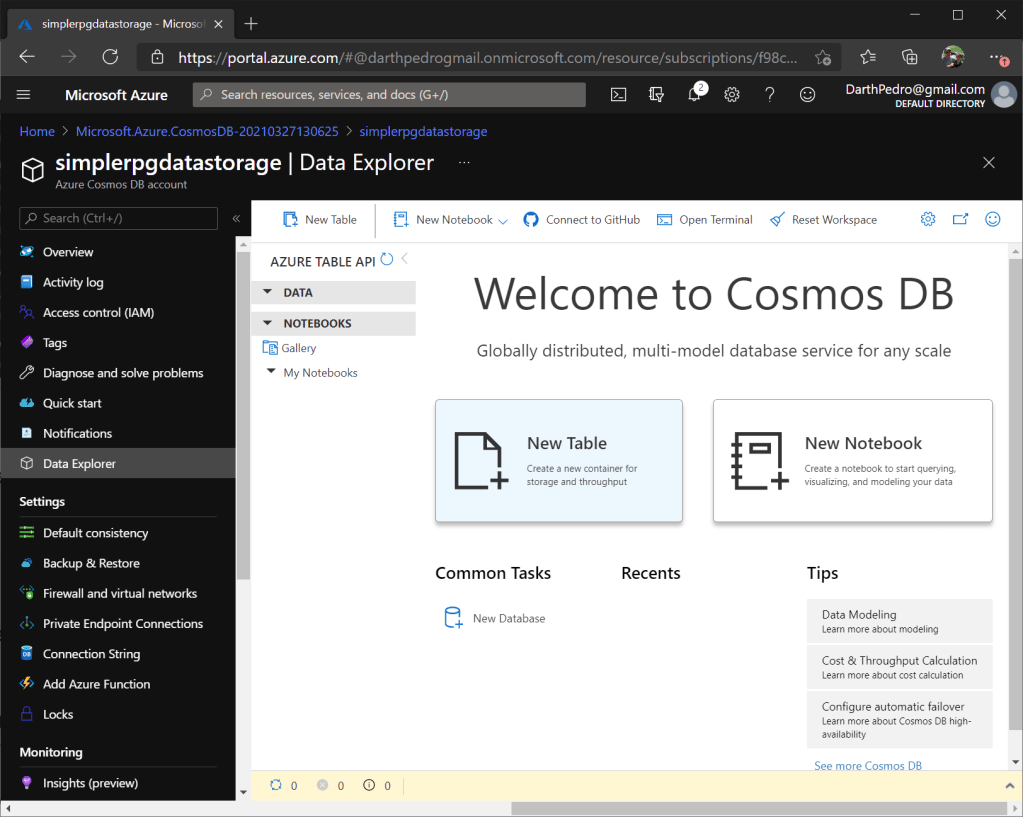
1. Select the ‘Data Explorer’ in the left navigation panel.
2. Click the ‘New Table’ button.
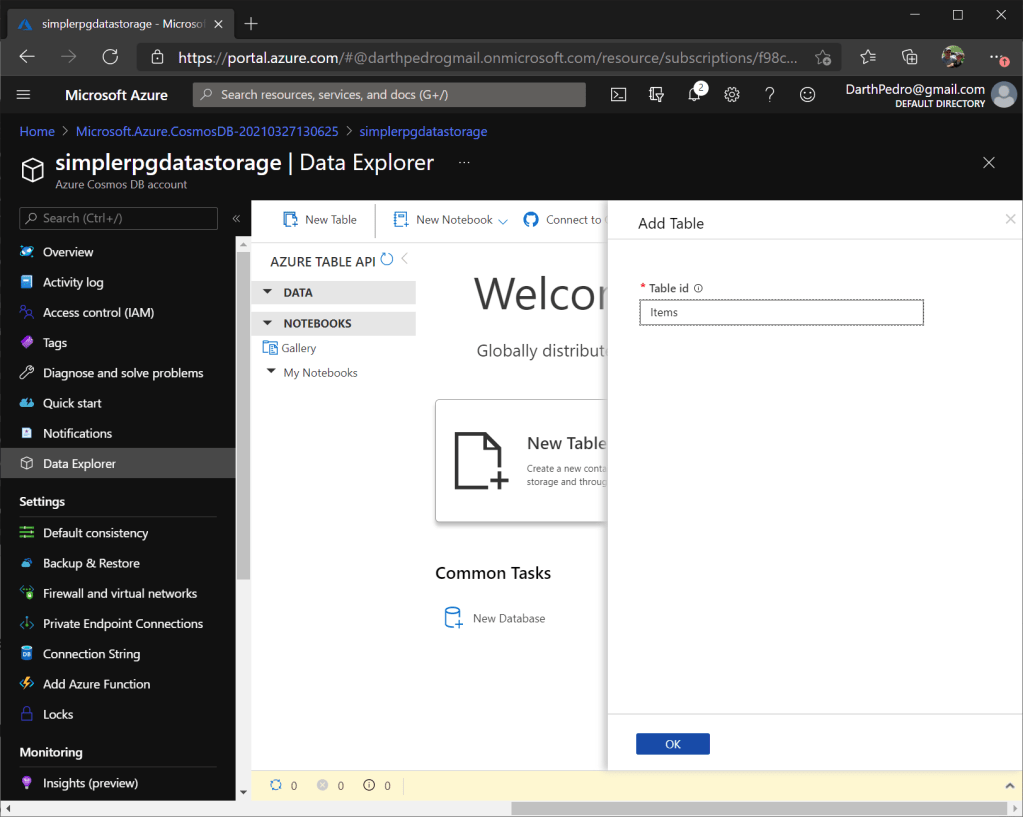
3. Name the table – ‘Items’. And then, click the ‘OK’ button.
4. After the table is created, expand the TableDB folder and the ‘Items’ container, and then select the ‘Entities’ node to show an empty list for this table.
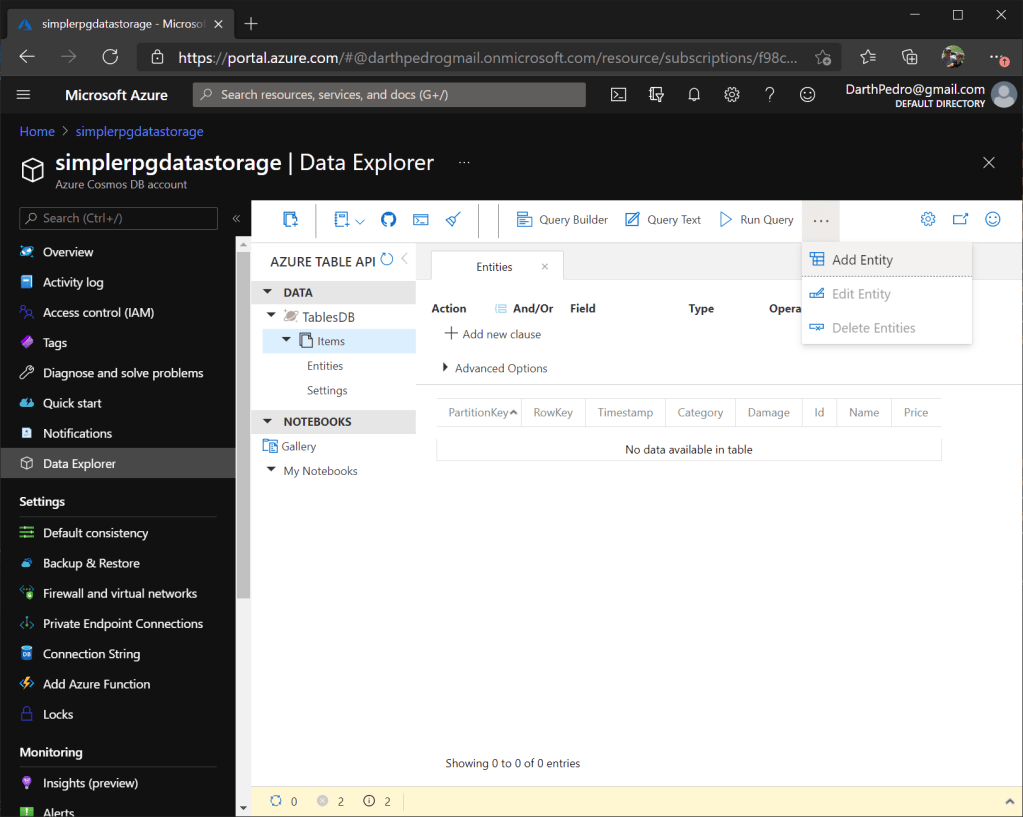
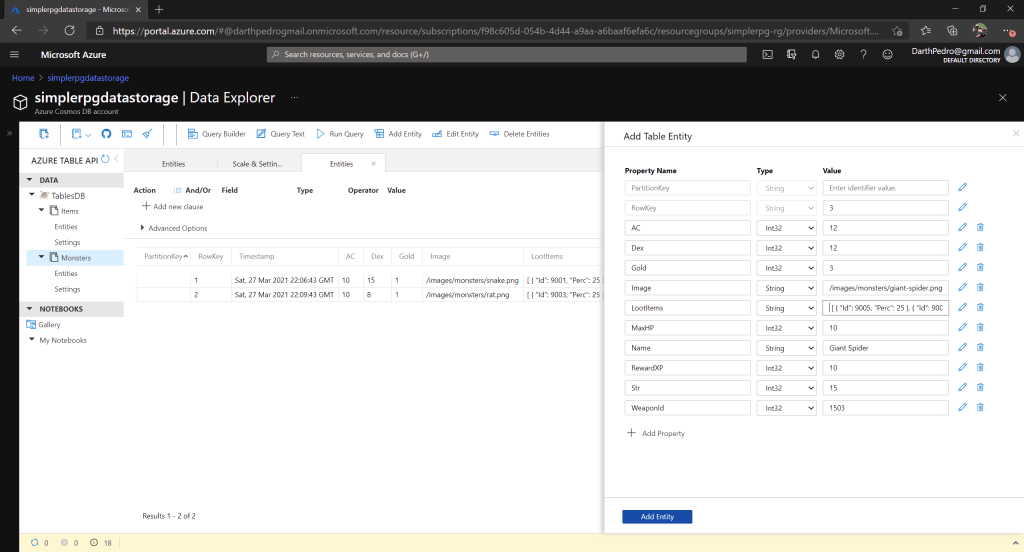
5. Select the ‘Add Entity’ button in the top toolbar to add our first item to this table. Azure Tables provide a nice UI for entering table columns and data values manually.
6. Our first column in this table will be for the Id value set into the ‘RowKey’ property. Azure Tables expects the RowKey as a property of any table, so we can use it for our Id.
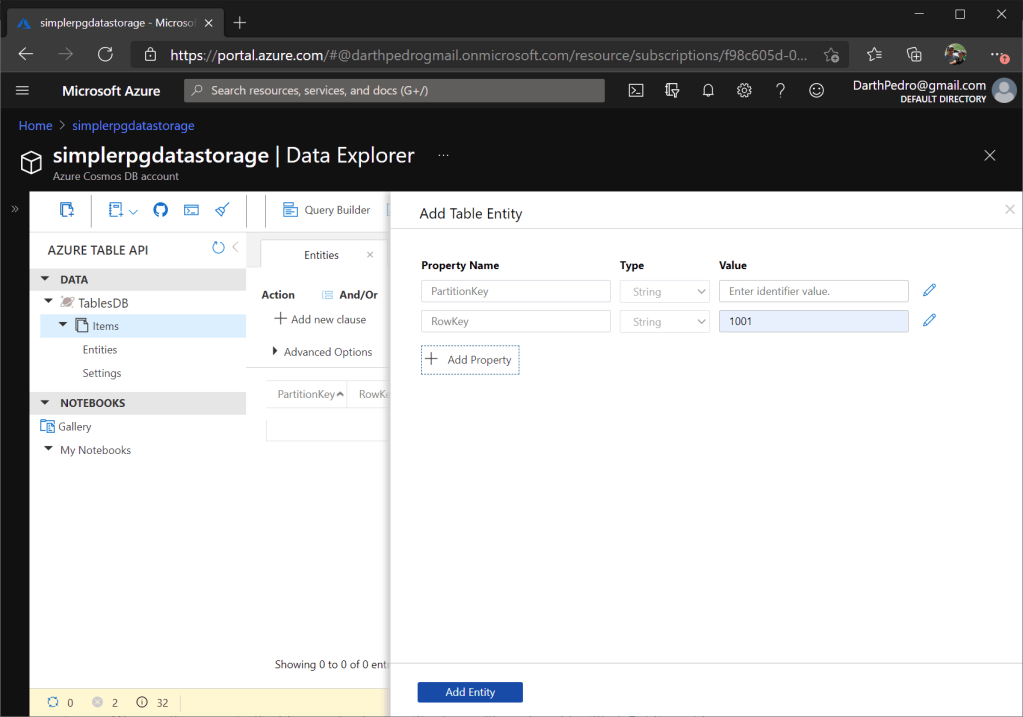
Notice that Table storage adds 2 default columns to the table for its own purposes. The PartitionKey is used to split large datasets to optimize storage and retrieval of the entities. Our dataset is too small to need a PartitionKey (but we could have placed the item category name as the key, which would partition our items by category). We map the RowKey to the Id property of our entity classes (the unique identifier). But it must be represented as string in Table storage.
7. Let’s add the remain columns/properties for the first item.
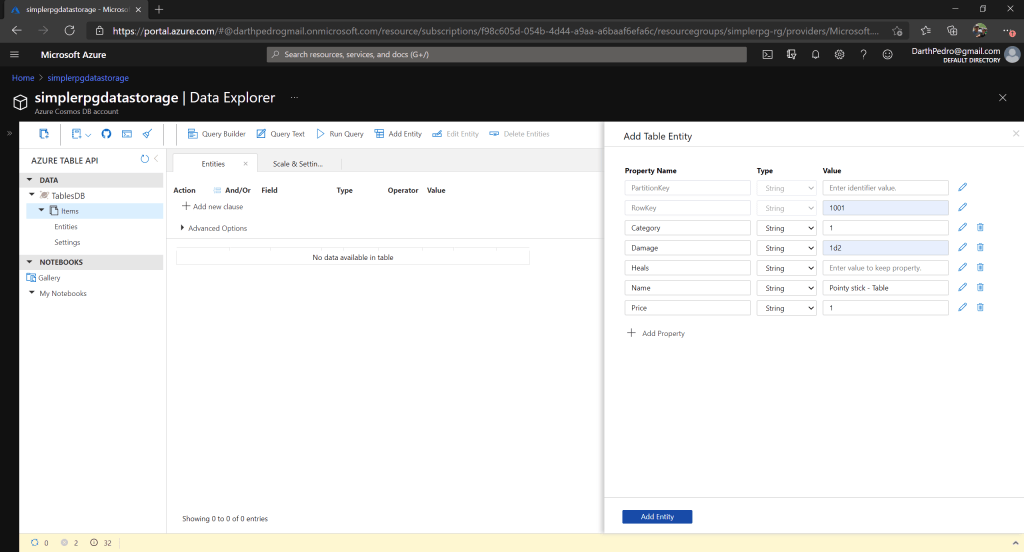
We set the Name column as a string and set the value to ‘Point stick – Table’. As with blob storage, we want to use a different name to validate that we are reading from the right source. Then, we add the remaining columns for this item: Category (integer representation of our enum), Price, and Damage. Columns in our table are optional so having Damage for some types of items and not others is easily supported.
8. Click the ‘Add Entity’ button on this flyout.
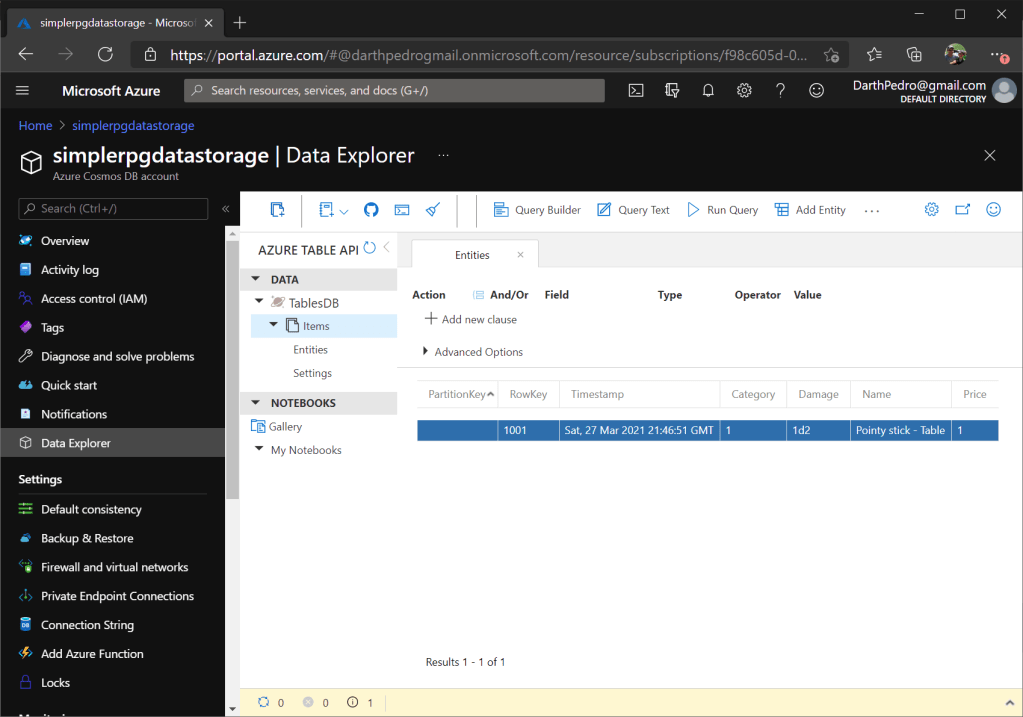
9. We return to the Entities list screen and see one item in the list (with the values that we set).
10. We must follow these steps for each entity in our Items table. Let’s do that for all 15 items in our game data. We will skip through each addition, but the final list should look like:
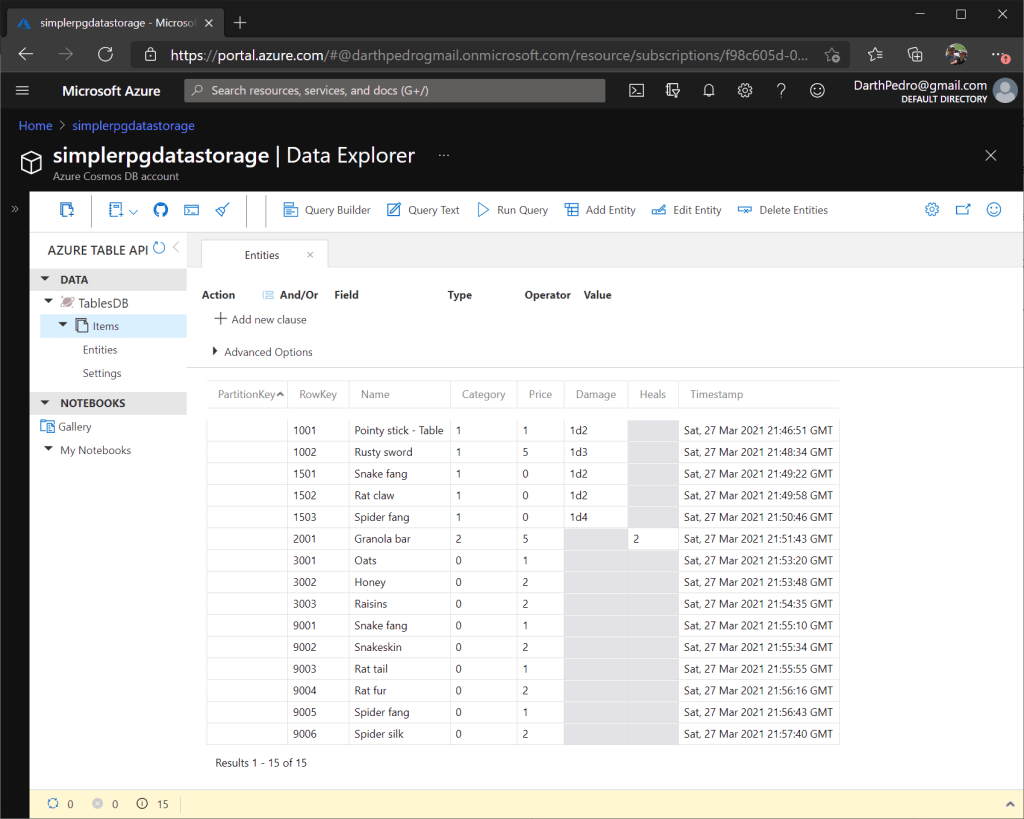
We have a row for each Item in our game. We can see all of the data in the entities list. And, we can see which entities don’t have optional values. We also added an optional Heals column for healing items (like Granola bar), but there is only one item that sets that value.
Create Remaining Tables
With our first table complete, we have a good understanding of how to create tables and fill them with data.
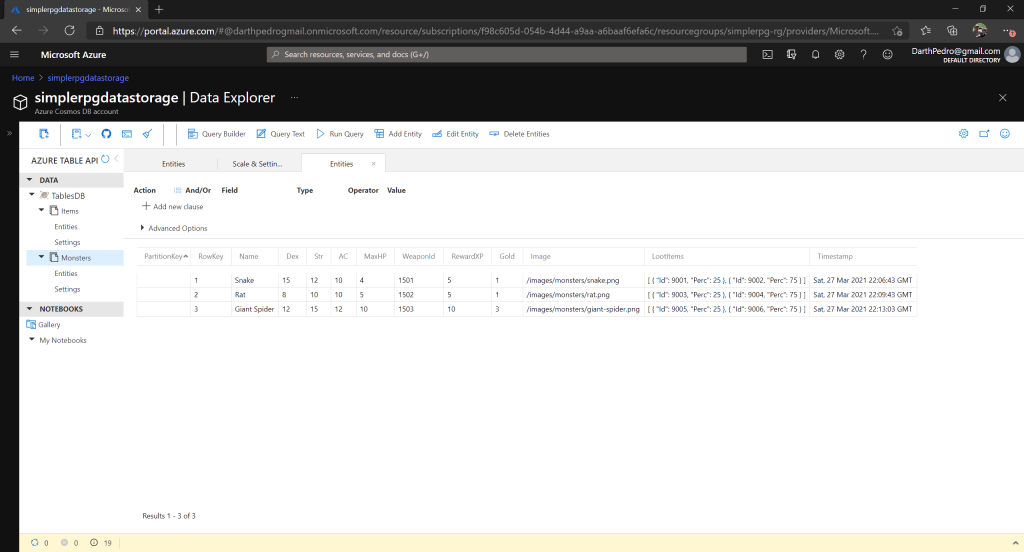
For the Monster table, most of the columns behave exactly like the Items table. But, there is a special column (LootItems) that contains a list of loot items that the monster may drop after combat. This is a list of entity ids and percentages, which is difficult to represent in Table storage. So, for these types of properties, we will instead save a snippet of JSON for that list. This JSON snippet will need to be parsed separately when this data is loaded and converted to objects. But this gives us the flexibility to save and retrieve any arbitrary data in our Azure Table.
Here is the full Monster Table:
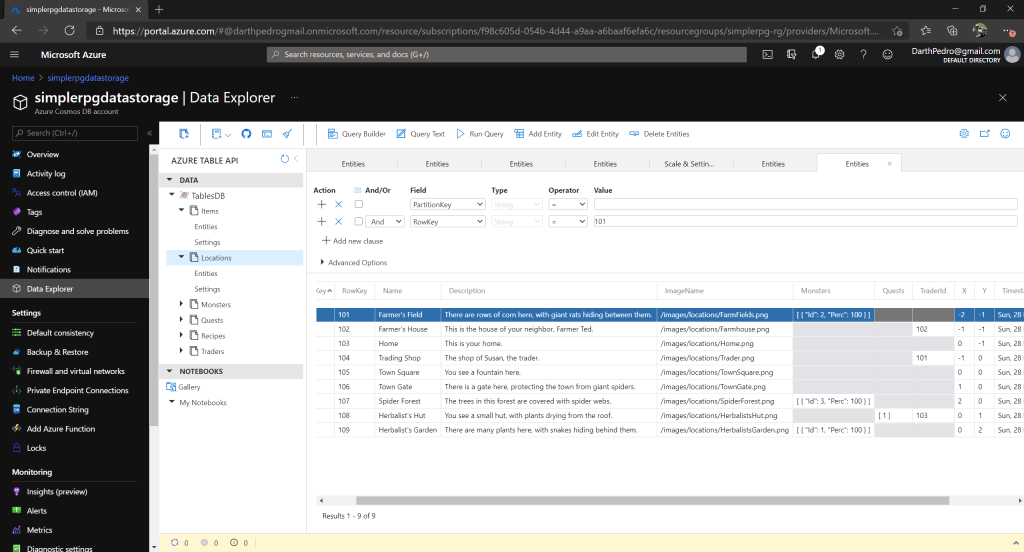
Next, we must follow the steps above for our remaining game data files: Locations, Quests, Recipes, and Traders. We are not going to provide step-by-step instructions for each table. We just have to run through the same steps as we did for the Items and Monsters tables. But here is a list of each of the Tables in Azure.
Locations Table:
Quests Table:

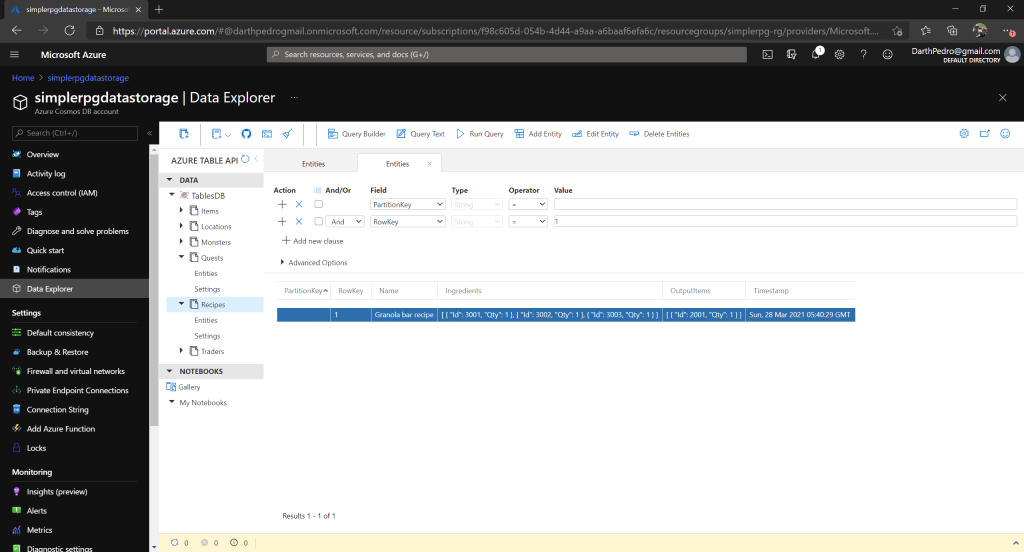
Recipes Table:
Traders Table:
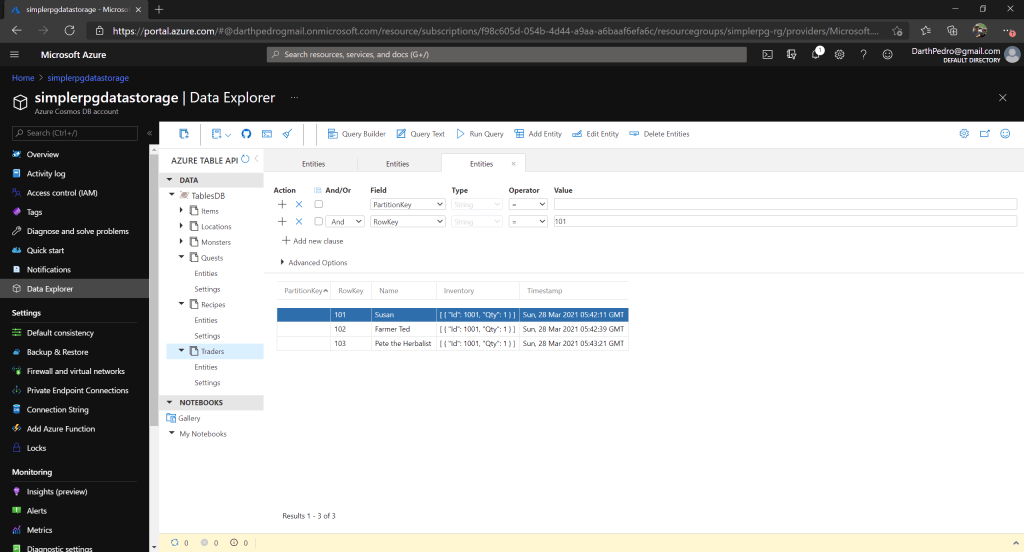
Get Connection String
To access this Table storage data, we will need a connection string in our code. We can get the connection string from the Table storage account.
- In the Table storage account, select the ‘Connection String’ item in the navigation panel.
- Switch to the ‘Read-only Keys’ tab.
- Copy the ‘Primary Connection String’ entry for use in our repository code.
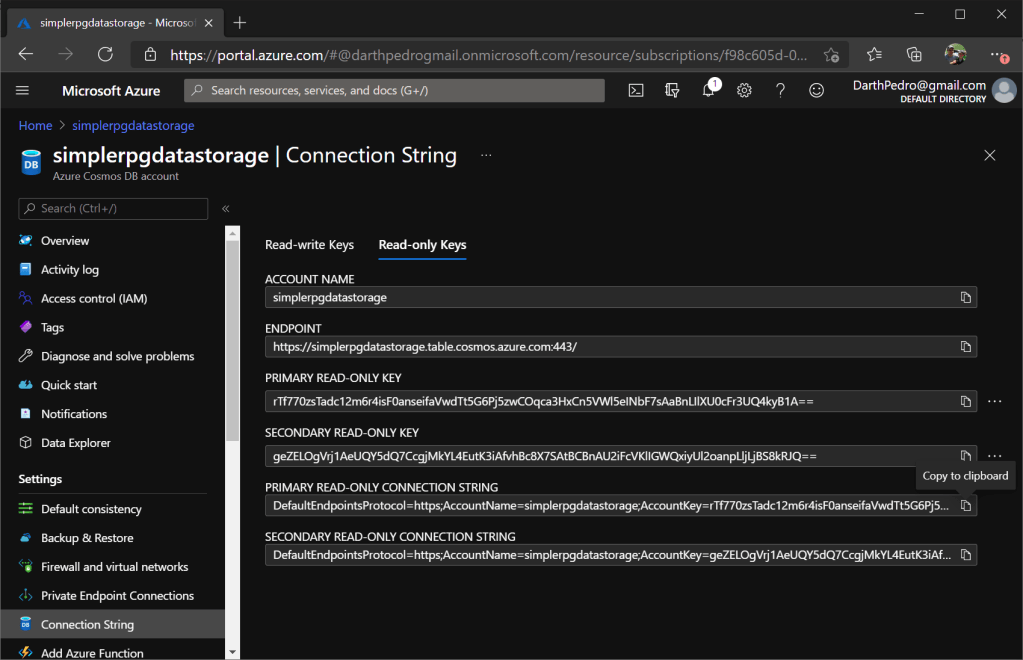
And, save that connection string for use in our next lesson.
In conclusion, we created the Table storage account. Then, we created tables for each of the game data files. Next, we entered all of our data in these various Tables. In the next article, we will create a repository to load this data in our game services.
